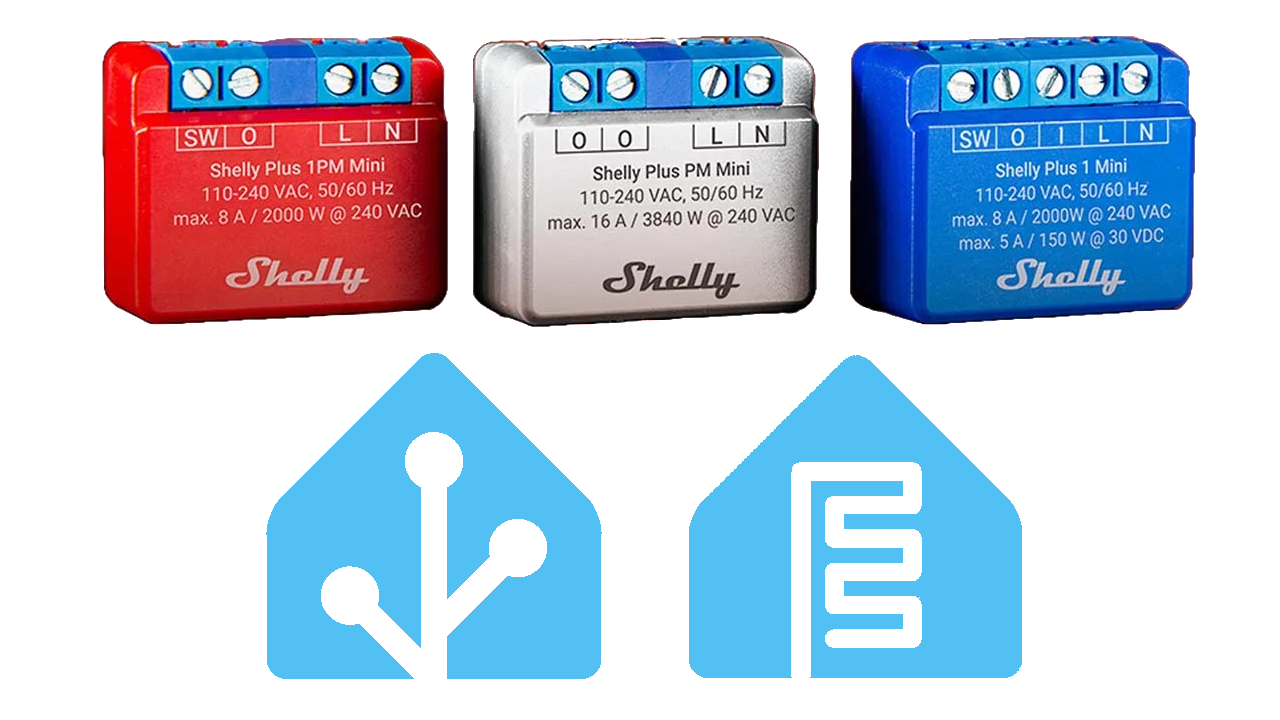
I dont like the stock shelly firmware, as it does not support toggling the light when the switch input toggles (it only supports turning on when the swtich turns on, and vice versa, but it gets confusing when you toggle the light once online, then you have to press the switch twice?!) and because the stock firmware does not act as a good remote homeassistant bluetooth proxy
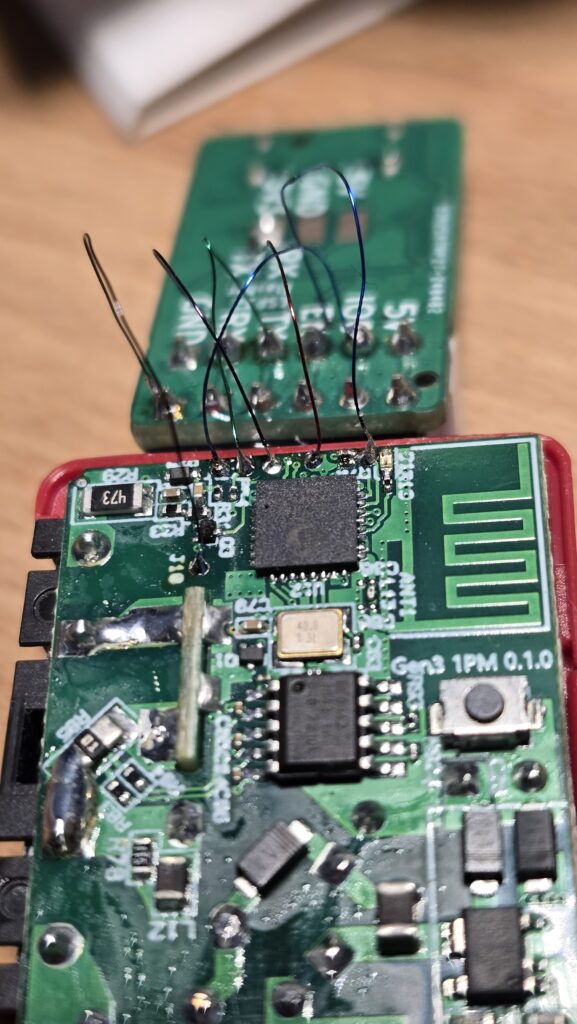
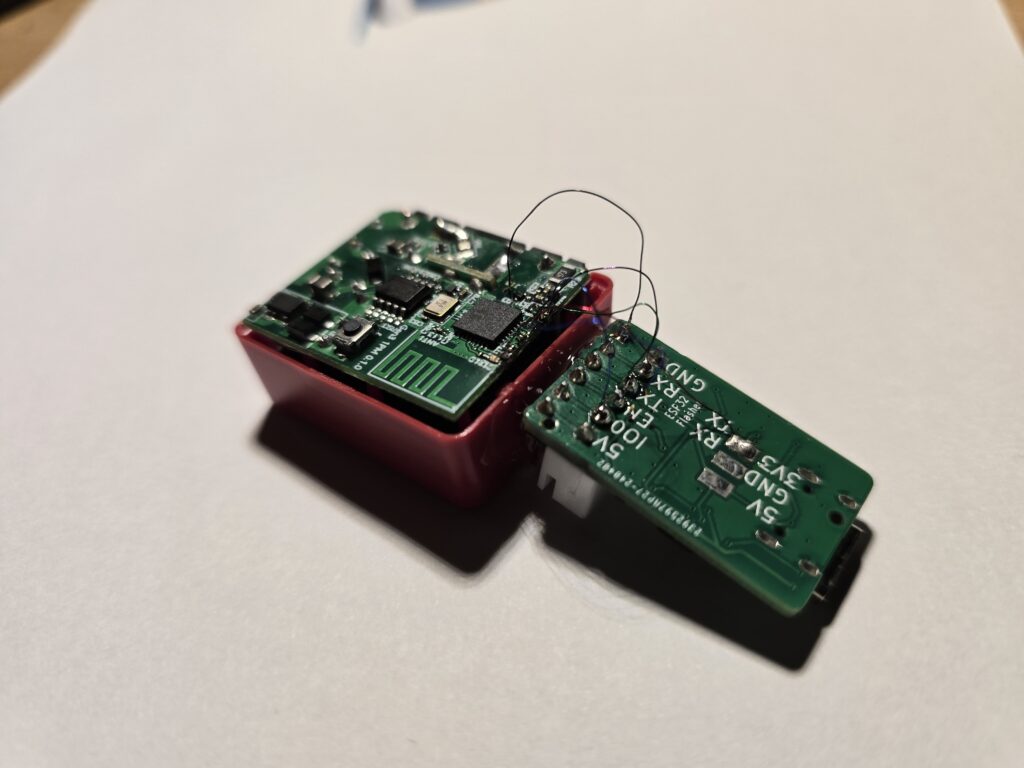
Let’s put homeassistant on all shellies across the flat, but without opening them, only via OTA. I have lots of shellies mounted across the flat in all lamps on the ceilings and I dont want to disassemble everything again. This is how it would look like if we would do it by opening it up and soldering.


So this procedure describes on how to flash esphome via OTA and without touching the shellies already mounted everywhere.
- Download mgos32-to-tasmota32-mini1g3.zip or mgos32-to-tasmota32-Mini1PMG3.zip (depending on if you have it with or without power monitoring) from latest release https://github.com/tasmota/mgos32-to-tasmota32/releases
- Open the shelly website (either over your home wifi or AP)
- Go to Settings, then Firmware, drop the .zip file onto the upload box, don’t use the update with url
- Connect to Tasmota AP
- Configure it to connect to your home wifi
- Open the Tasmota homepage (now over your home wifi, not AP)
- Click on Configuration, then Auto-configuration, select Shelly Mini1G3 or Shelly Mini1PMG3, then the submit button.
This replaces the locked bootloader (without this step device gets bricked with the next boot). - Under consoles, open the Partition Wizard and start the Safeboot
Conversion by hitting the button „Start Migration“. The conversion will
update to the latest Tasmota version too.
Don’t worry, this step took over 5 minutes in my setup - Use Partition Wizard to increase the Filesystem size to its maximum. This removes all obsolete files too.
- Checkout the esphome fork with support for remote bootloader update
$ git clone git@github.com:angelnu/esphome-1.git --branch=extend_ota - Install python pipenv
$ sudo pacman -Syu python-pipenv - pipenv install
- pipenv shell
- Verify that the version now is correct, in my setup I had esphome from arch and esphome from pipenv
Incorrect:$ esphome version
Version: 2024.10.0
Correct:$ python -m esphome version
Version: 2024.1.0-dev - Prepare yaml file that also allows unprotected writes:
substitutions: device_name: "klo-deckenlicht" friendly_name : "Klo Deckenlicht" esphome: name: ${device_name} friendly_name: ${friendly_name} platformio_options: board_build.flash_mode: dio esp32: board: esp32-c3-devkitm-1 framework: type: esp-idf platform_version: 6.4.0 version: 5.1.1 variant: esp32c3 wifi: ssid: "put your wifi here" password: "put your password here" ap: ssid: "$(device_name) Fallback Hotspot" password: "put your password here" ota: unprotected_writes: True # This is mandatory if you want to flash the partition table or bootloader! api: encryption: key: "put random encryption string here" logger: hardware_uart: USB_SERIAL_JTAG time: - platform: homeassistant captive_portal: esp32_ble_tracker: bluetooth_proxy: web_server: debug: update_interval: 5s button: - platform: restart name: Restart sensor: - platform: wifi_signal # Reports the WiFi signal strength/RSSI in dB name: "WiFi Signal dB" id: wifi_signal_db update_interval: 60s entity_category: "diagnostic" - platform: copy # Reports the WiFi signal strength in % source_id: wifi_signal_db name: "WiFi Signal Percent" filters: - lambda: return min(max(2 * (x + 100.0), 0.0), 100.0); unit_of_measurement: "Signal %" entity_category: "diagnostic" device_class: "" - platform: debug free: name: "Heap Free" block: name: "Heap Max Block" loop_time: name: "Loop Time" - platform: ntc sensor: temp_resistance_reading name: "Temperature" unit_of_measurement: "°C" accuracy_decimals: 1 icon: "mdi:thermometer" calibration: b_constant: 3350 reference_resistance: 10kOhm reference_temperature: 298.15K - platform: resistance id: temp_resistance_reading sensor: temp_analog_reading configuration: DOWNSTREAM resistor: 10kOhm - platform: adc id: temp_analog_reading pin: GPIO3 attenuation: 11db - platform: bl0942 uart_id: uart_0 voltage: name: 'Voltage' id: bvoltage icon: mdi:alpha-v-circle-outline device_class: voltage current: name: 'Current' id: bcurrent icon: mdi:alpha-a-circle-outline device_class: current power: name: 'Power' id: bpower icon: mdi:transmission-tower device_class: power energy: name: 'Energy' id: benergy icon: mdi:lightning-bolt device_class: energy frequency: name: "Frequency" id: bfreq accuracy_decimals: 2 icon: mdi:cosine-wave device_class: frequency update_interval: 5s uart: id: uart_0 tx_pin: GPIO6 rx_pin: GPIO7 baud_rate: 9600 stop_bits: 1 status_led: pin: number: 0 inverted: true output: - platform: gpio id: "relay_output" pin: 5 switch: - platform: output id: "relay" name: "Relay" output: "relay_output" - platform: template id: switch_enabled name: "Switch enabled" restore_mode: RESTORE_DEFAULT_ON optimistic: true binary_sensor: - platform: gpio name: "Switch" pin: 10 on_state: - if: condition: switch.is_on: switch_enabled then: - switch.toggle: "relay" filters: - delayed_on_off: 50ms - platform: gpio name: "Button" pin: number: 1 inverted: yes mode: input: true pullup: true - Try to compile the firmware
$ python -m esphome compile klo-deckenlicht.yaml
In my case it failed with the following error message:
ModuleNotFoundError: No module named ‚pkg_resources‘: - Trying to install missing pip dependency
$ pip install setuptools - Try compiling again, if successful you should be greeted with this message:
INFO Successfully compiled program. - esphome will tell you where the .bin files were placed, those have to be uploaded through tasmota webinterface
If uploading fails, try again - You should now be greeted by an esphome webinterface!
- The following step should fix partition problems but it seems like it didnt work on any of my esp’s:
python -m esphome -v upload-factory-ota klo-deckenlicht.yaml

Schreibe einen Kommentar